
If you have an online store and you're looking for a platform to create an optimized e-commerce store, Sellfy is one of the best platforms available in the market if you need a web builder with top-notch e-commerce features for your online store.
In addition to creating an e-commerce store, you can also optimize it by implementing a blog marketing strategy into your online store. Publishing valuable and engaging content through your blog page enables your website to rank higher in search results, which can drive organic traffic to your e-commerce website.
The good news is that now you can complement e-commerce functionalities in your Sellfy store with blogging features using BlogHandy. In this post, we'll dive deep into Sellfy as an e-commerce web builder while sharing a simple tutorial on how to add a blog to your Sellfy store with BlogHandy.
So, what do you need to know about Sellfy?
What You Need to Know About Sellfy
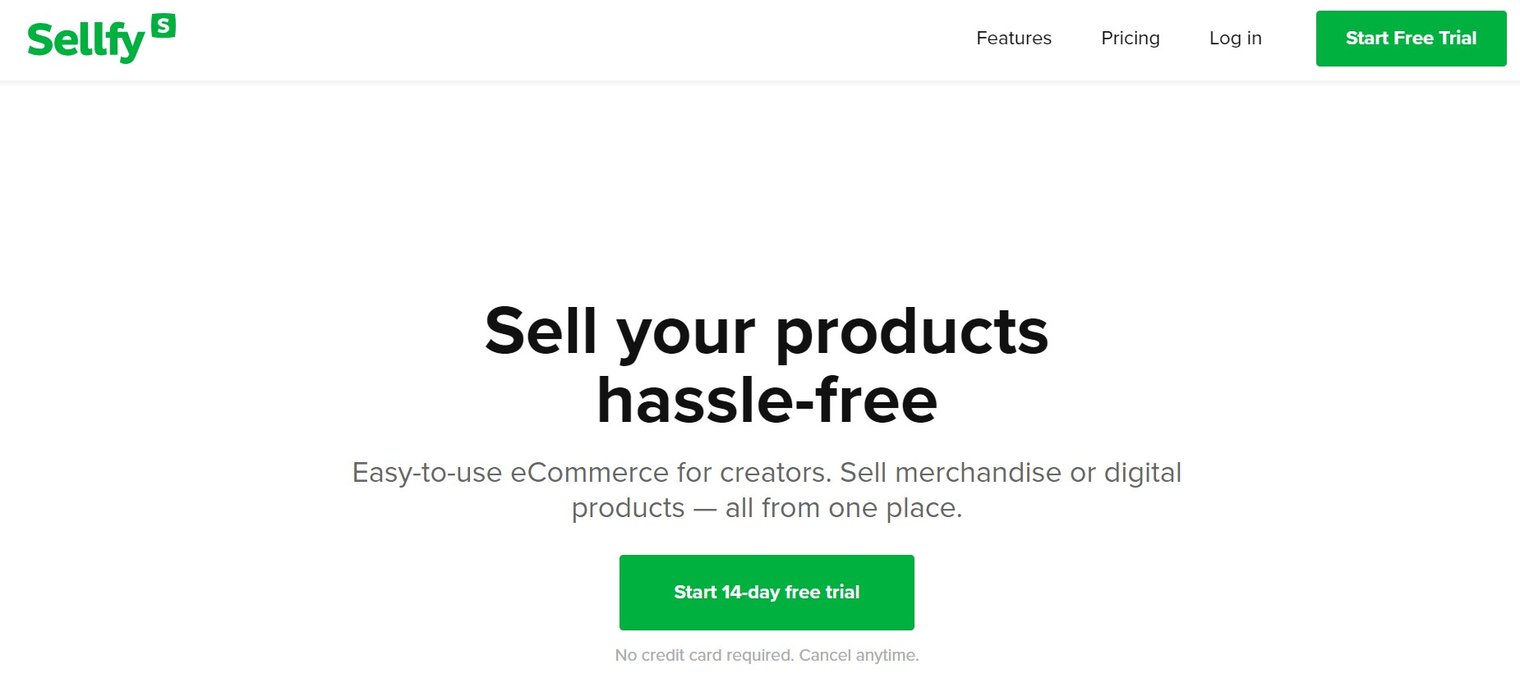
When talking about an e-commerce web builder, Shopify may come to the top of your mind as the industry's market leader. However, Sellfy also comes with some additional perks that may be attractive to you as a business owner!
Sellfy is an all-in-one platform that offers some main functionalities for an online store, from a web builder that enables you to create an e-commerce store without any coding skills necessary to sales and marketing tools that can do wonders to retain your customers.
Starting in 2011, Sellfy has grown into one of the best platforms for creating e-commerce stores. Essentially, Sellfy has a few functionalities for e-commerce depending on the type of products you offer through your business, including:
- Digital products. Sellfy helps streamline the process of selling digital goods and automates product delivery to your customers, ensuring a smooth and hassle-free experience from creating a catalog to delivering downloadable files such as e-books, music, or software.
- Print-on-Demand. Sellfy enables you to sell merchandise products using your design, where they also help you with the printing and shipping to your customers' addresses. Merchandise products vary, from t-shirts to mugs!
- Subscription. Sellfy supports subscription-based products or membership plans, enabling you to create recurring revenue streams for your brand.
- Physical products. Sellfy comes with a feature where you can also set up an e-commerce store to sell physical goods, although you may need to arrange the shipping independently based on your target market location.
- Freebie. As Sellfy also offers an email marketing feature in its platform that can be integrated into your online store, you can also add a freebie to attract visitors to your e-commerce and potential customers.
In addition to web builder and online store management, you can also integrate secure payment into your Sellfy online store using some of the most popular payment gateways, including Paypal and Stripe.
Why You Need a Blog Page on Your Sellfy Store
A blog can be a powerful tool to attract and retain customers, while it is also effective to drive traffic to your store, which can improve the overall success of your online store.
Although the primary purpose of your Sellfy store is to showcase and sell your products, a blog page on your Sellfy store can complement the online store by providing additional value to both the business and its customers. You can also combine some marketing strategies through content marketing on your blog, as well as Pinterest marketing, in order to boost sales for your online store.
Content marketing can establish your business as an authority in the industry, leading to trust with potential customers. You can create different types of content, from product reviews to round-up posts with a list of the items you sell on your online stores.
In addition, it will also be beneficial for search engine optimization for your Sellfy store, as search engines like Google or Bing love fresh and optimized content. The more blog posts you publish on your Sellfy store will increase the chance of your online store ranking higher than your competitors, which can lead to increased organic traffic and exposure for your e-commerce store.
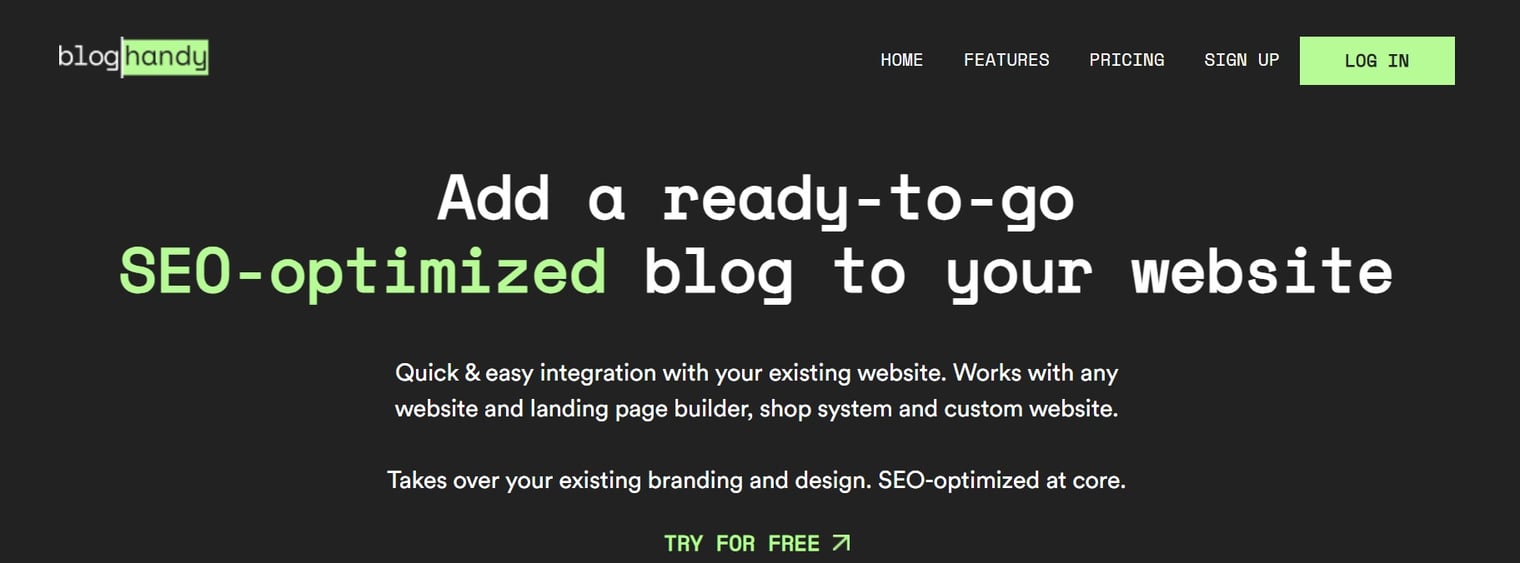
You can now enhance the top-notch functionalities for your e-commerce store on Sellfy by integrating a blogging feature on your store using BlogHandy. Just by embedding two lines of code from BlogHandy to your Sellfy editor page, you can now start optimizing your online store with a content marketing strategy!
Tutorial: How to Add a Blog to Your Sellfy Store with BlogHandy
In this section, we'll share a simple tutorial to add a blog page to your Sellfy store using BlogHandy codes.
#1 Customize your Sellfy store
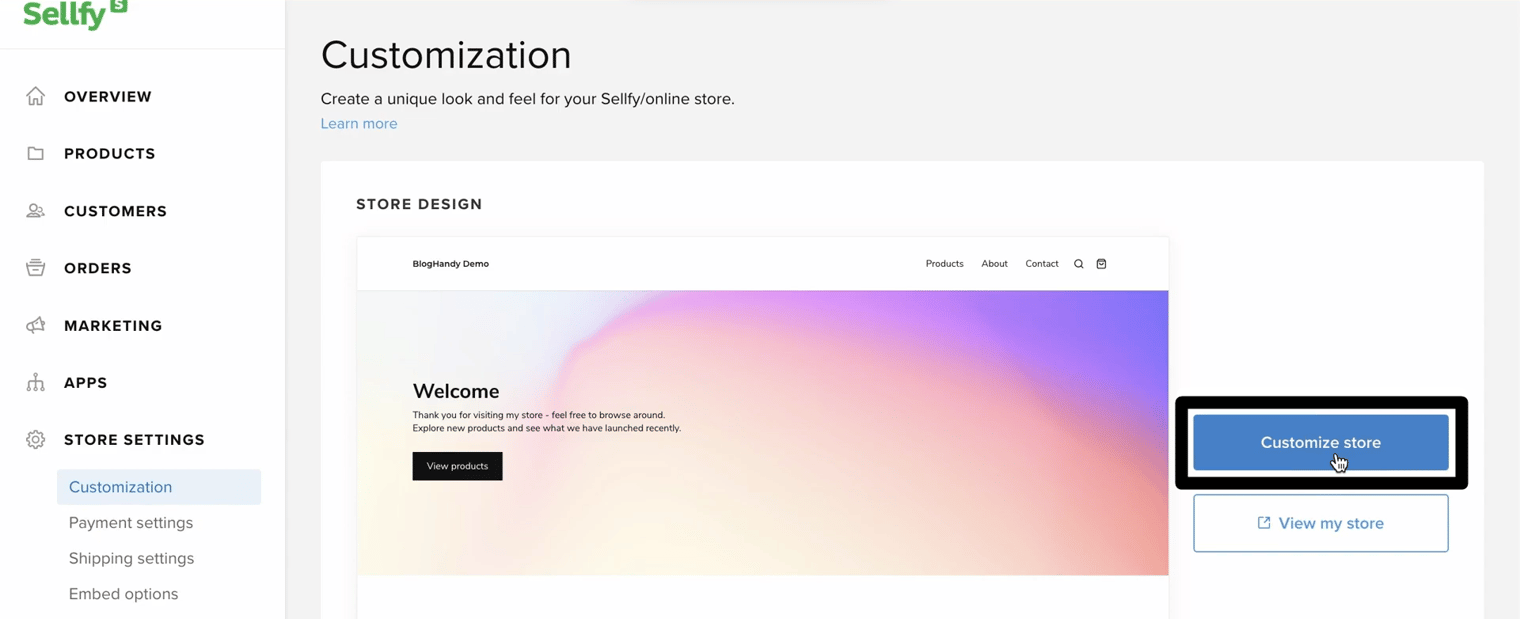
Go to your Sellfy dashboard, and you'll see the main menu on the right-hand side of the monitor where you can find options like Overview, Products, etc. Click "Store Settings" option, which will drop down into several categories, including Customization.
On the Customization option on the main page area, you'll see the preview of your e-commerce store on Sellfy with two buttons on the side: "Customize store" and "View my store." Click the first option, which will lead you to the main editor page for your Sellfy store.
#2 Add a blog page on your Sellfy store
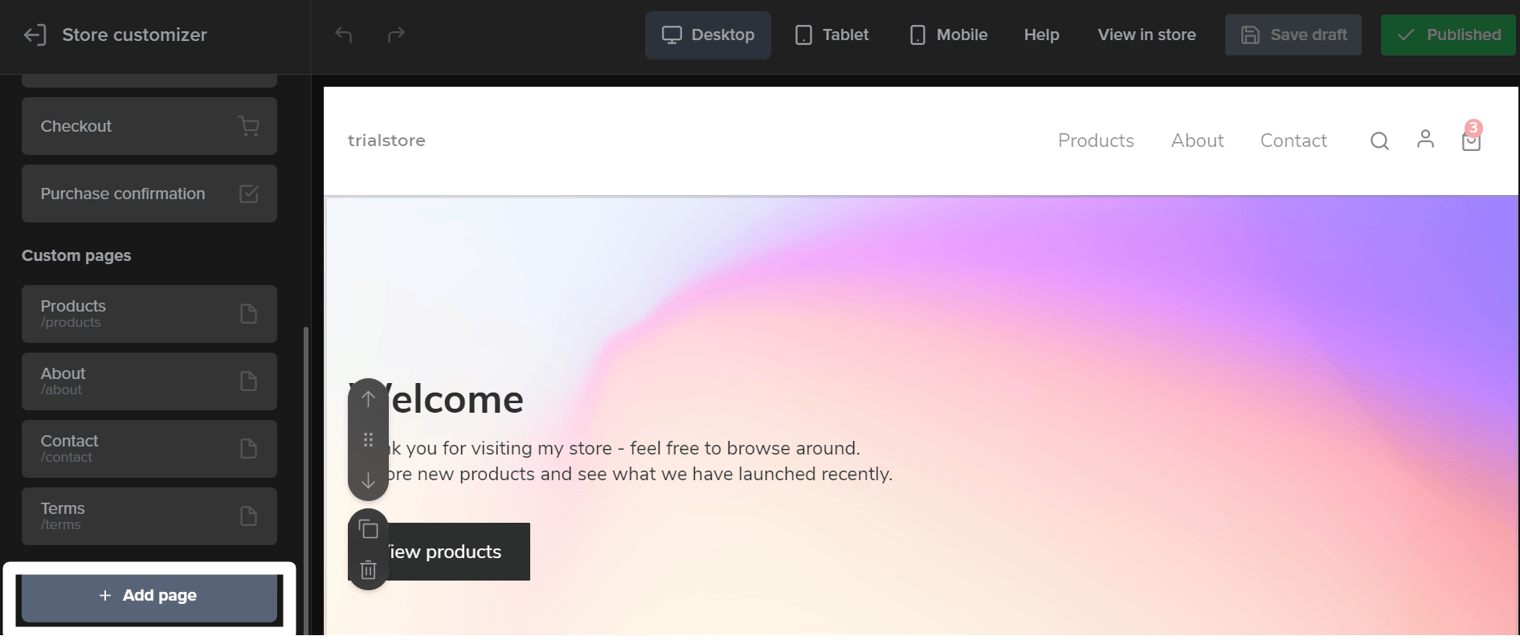
Once you get to the main editor page of your e-commerce store on Sellfy, scroll down the main menu on the right side of your monitor until you see the "Add page" button to add a new blog page on your Sellfy store.
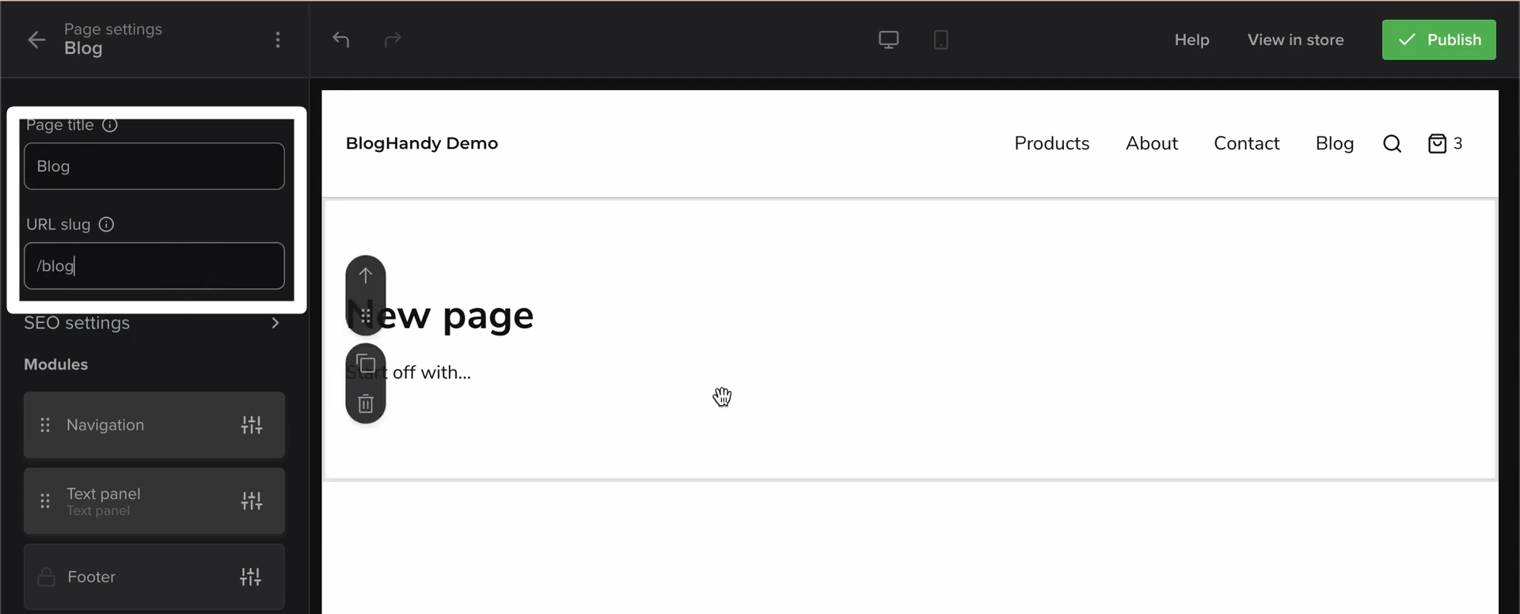
Click the button, and you can now change the Page Title and the URL slug accordingly. Check the preview of the Sellfy store, and you should find the new page you just created on your Sellfy store at this point.
#3 Embed the BlogHandy codes on your Sellfy store
Go back to the menu, and now you can see the Modules option under the Page Title and URL slug column. Under the Modules, there are a few options including Navigation, Text Panel, and Footer.
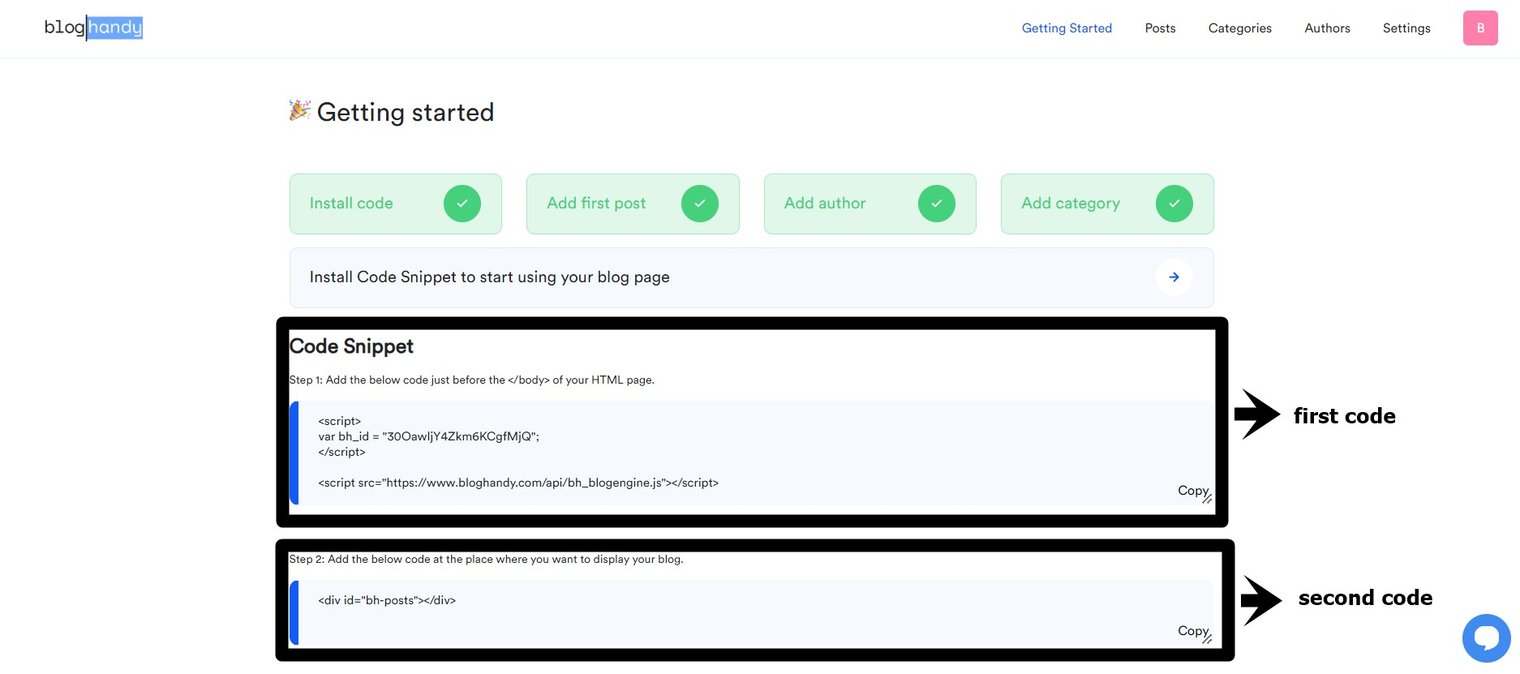
Next, go to your BlogHandy page to find the codes to embed on your Sellfy store. Copy the second BlogHandy code, and return to the Sellfy main editor page.
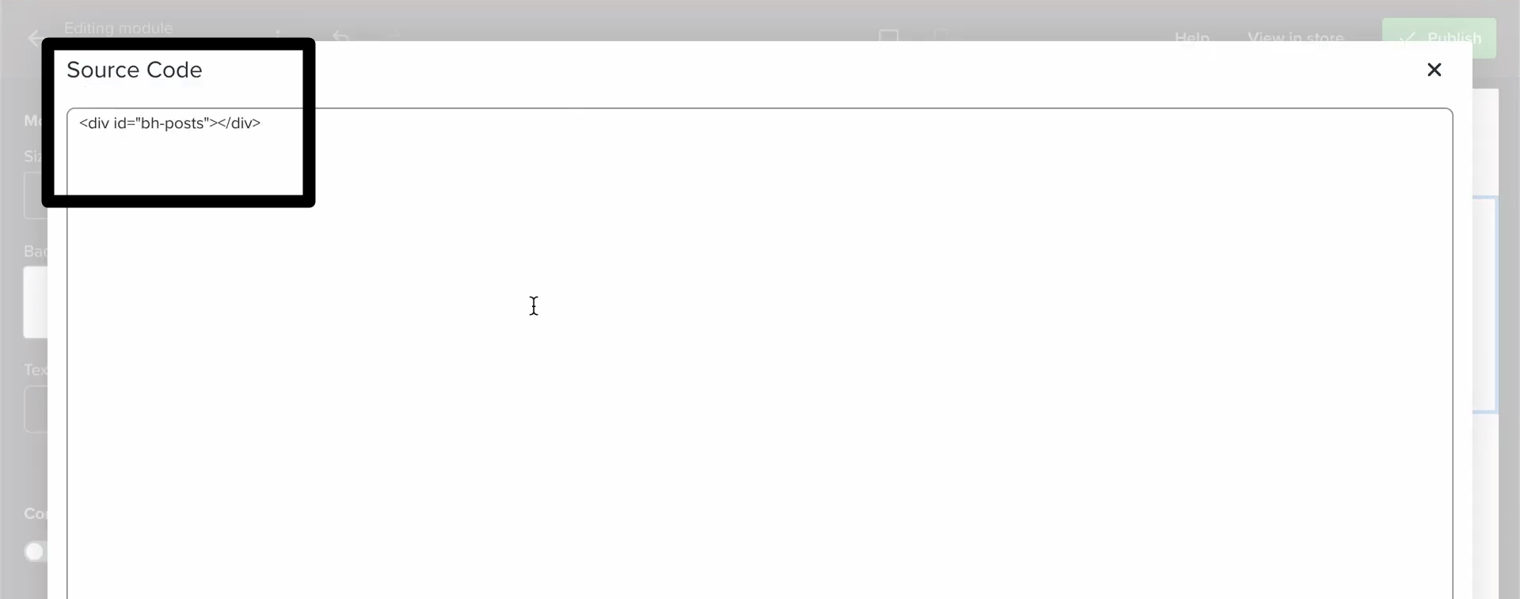
To embed the first BlogHandy code, click the "Text Panel" option. A new sub-menu will appear when you click Text Panel, and then you can see the "Edit content" button that will lead you to the section with the title "New Page."
Remove the content, and click the Source Code option with the <> where you can paste the BlogHandy code on your Sellfy store. Once added, click on Save to continue.
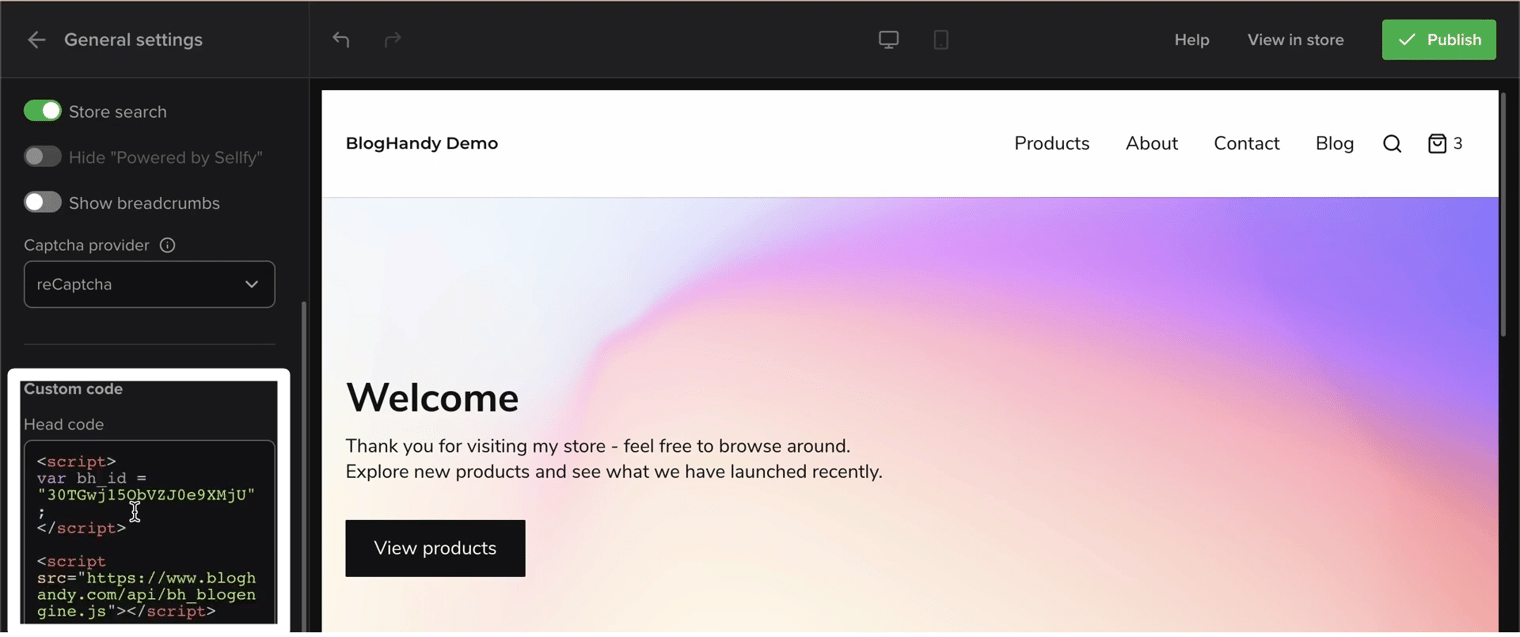
Click the back button on the top right of your monitor until you return to the main Store Customizer page. In this section, you can see "General settings" option. Click on it, and scroll down until you see the "Custom code" section, where you can see an empty column under the "Head Code."
Once again, check your BlogHandy dashboard, and this time you can copy the first line of code on your BlogHandy account and paste it into the "Head Code" column. On top of the monitor, you should be able to see the "Publish" button on the left and click on it to finalize this step.
#4 Copy your Sellfy blog page URL and paste it on BlogHandy
On your Sellfy main editor page, next to the "Publish" button, you can find the "View in Store" option to see the final touch after embedding the two lines of code from BlogHandy. Click the "View in Store" button to see the interface of your entire Sellfy store.
Click the Blog page, and your blog posts should appear on that page accordingly if you've embedded the BlogHandy codes correctly. Copy the URL for the blog page, and go back to your BlogHandy dashboard.
Go to the "Settings" on BlogHandy, and on the "General" section you can see the Blog URL with an empty column. Paste the blog page URL you copied from your Sellfy store there, and don't forget to click the "Save all changes" button to finalize.

#5 Change the blog layout using BlogHandy
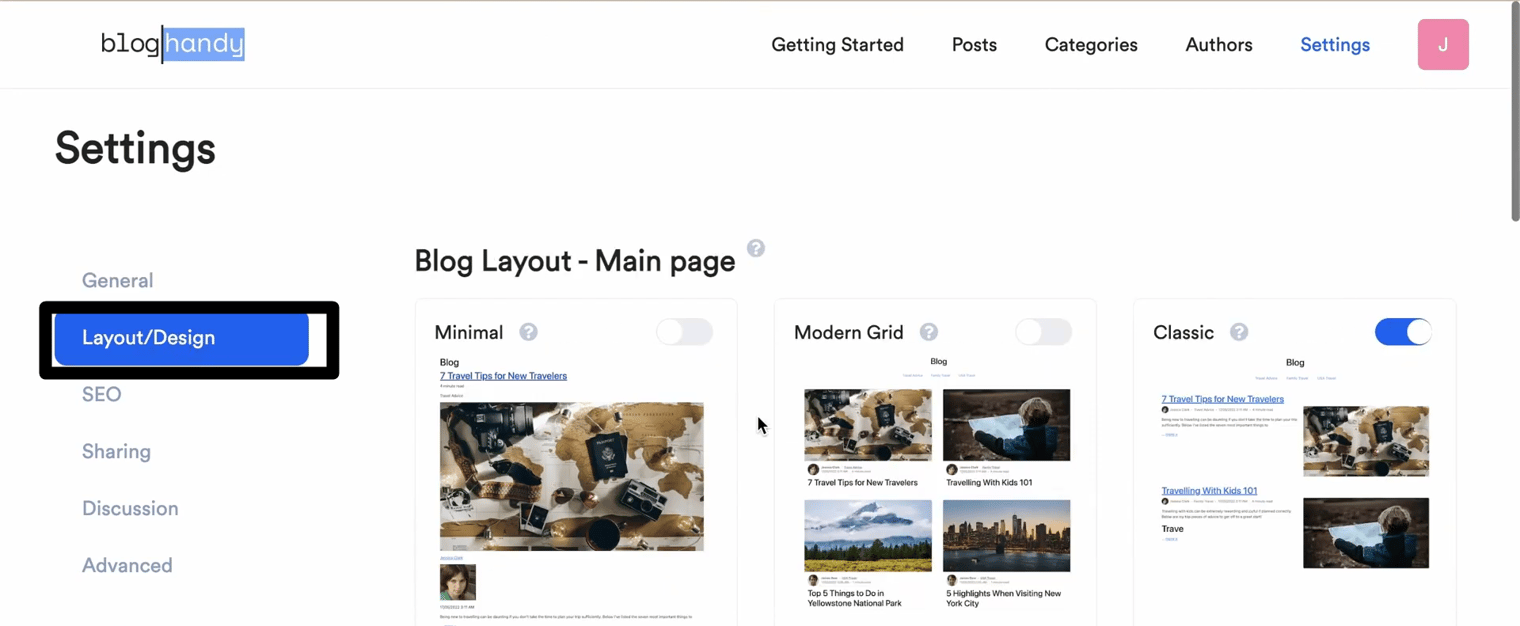
Your blog page on Sellfy store will follow the blog layout you set on BlogHandy, so you need to click the "Layout/Design" section under Settings on BlogHandy to change it.
BlogHandy has nine layouts, so you can click your preferred option to change it. Click "Save all the changes," and you can go back to the blog page on your Sellfy e-commerce store to refresh it to see the changes.
Alternatively, you can also change the blog layout using CSS in the same section under Settings on BlogHandy.
Conclusion
Sellfy is a great e-commerce platform that helps you simplify the journey of building your online store with all the necessary tools to run your online business. To optimize your e-commerce store on Sellfy, you can also integrate it by adding a blog page on your Sellfy store using BlogHandy.
BlogHandy is a content management system that offers everything you need for a blog page on your existing Sellfy store: blog editor page, built-in SEO tools that can help you optimize your content, and also social sharing tools that you can add to your e-commerce store without installing any additional plugins.
So, are you ready to run your online store using Sellfy? Do you want to optimize your e-commerce store and boost sales using a content marketing strategy on your Sellfy store? Sign up for BlogHandy here, and enjoy the seamless blogging journey to add to your Sellfy e-commerce now!